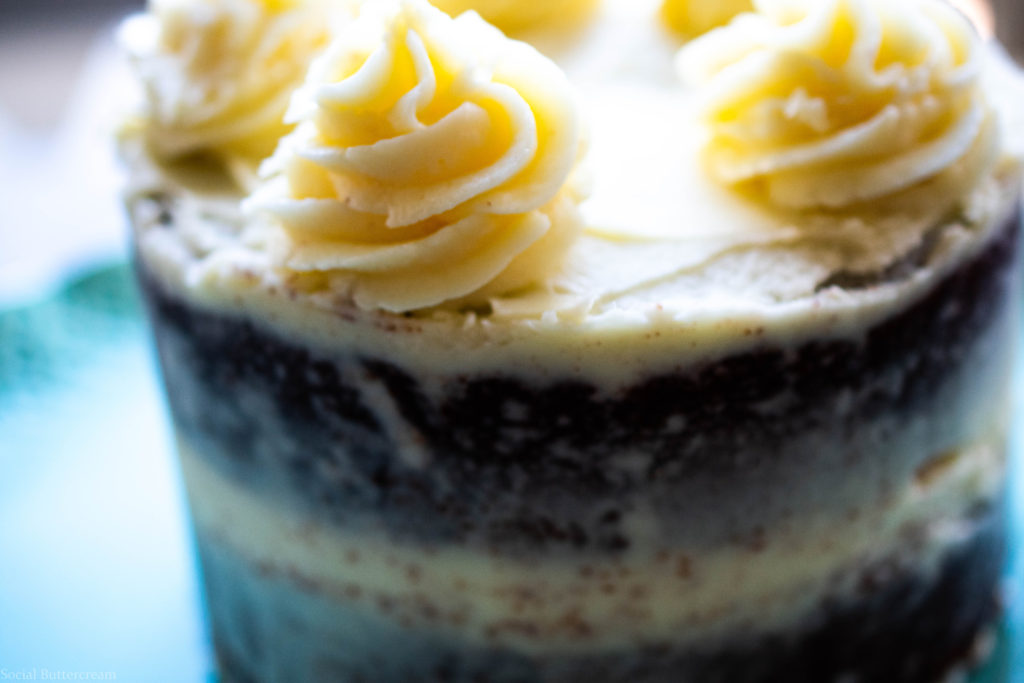
 I had my 12-year-old niece for the weekend last week. She is my little baking buddy, animal loving, artistic sweet thang! Before she arrived, I asked her what she wanted to bake, and she said red velvet cake with cream cheese frosting. Well ask and you shall kind of receive! It’s a Maroon Velvet Cake with Mascarpone Buttercream! Close enough, plus I hear maroon is the new red…trend alert!
I love having my niece stay with me for the weekend. I make her help me walk the dogs, braid my hair, do the dishes…haha, she likes it! No really, she is so adorable and is such a kind gentle soul! When she said she wanted to make red velvet cake because she never made one before, I was like done and done. I actually never made a red velvet cake either. I have made cupcakes, but not a cake, so away we went.
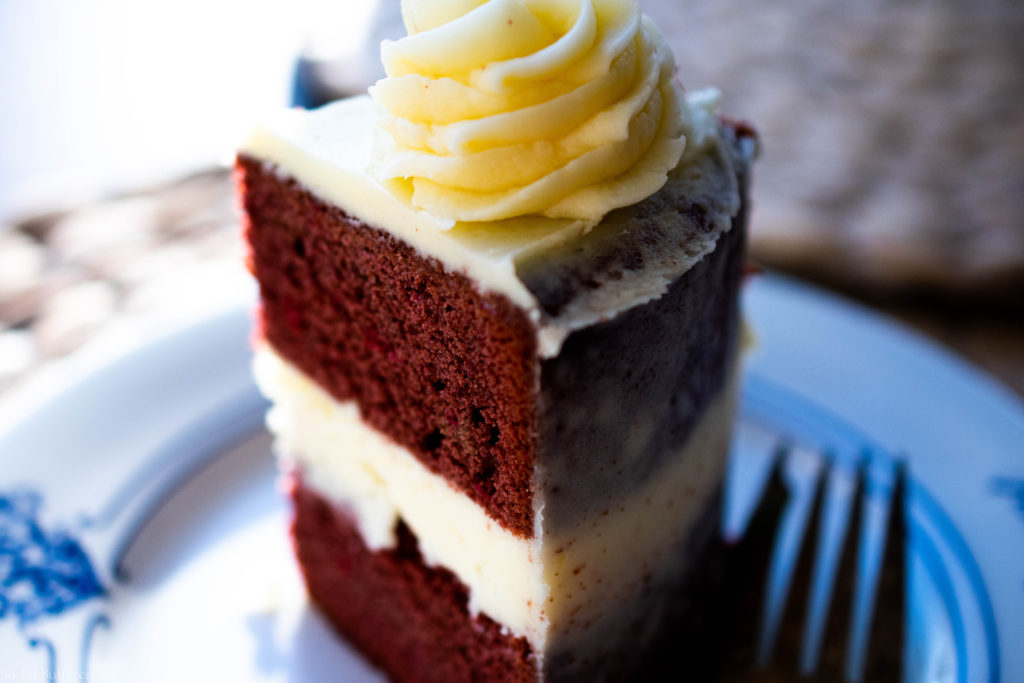
This double layer beauty is a sturdy cake while maintaining a tender crumb. It has a nice rise, so you get big beautiful layers of cake, all ready and waiting for that mascarpone buttercream to be piled in-between! The subtle cocoa flavor makes this not quite a vanilla cake and not a full-blown chocolate cake. Best of both worlds! The addition of the almond oil adds another depth of flavor and moisture to the cake that takes this beyond your ordinary red velvet cake. It takes it to a Maroon Velvet Cake!
 I would kill for those lashes! Haha! Not really, but come on!
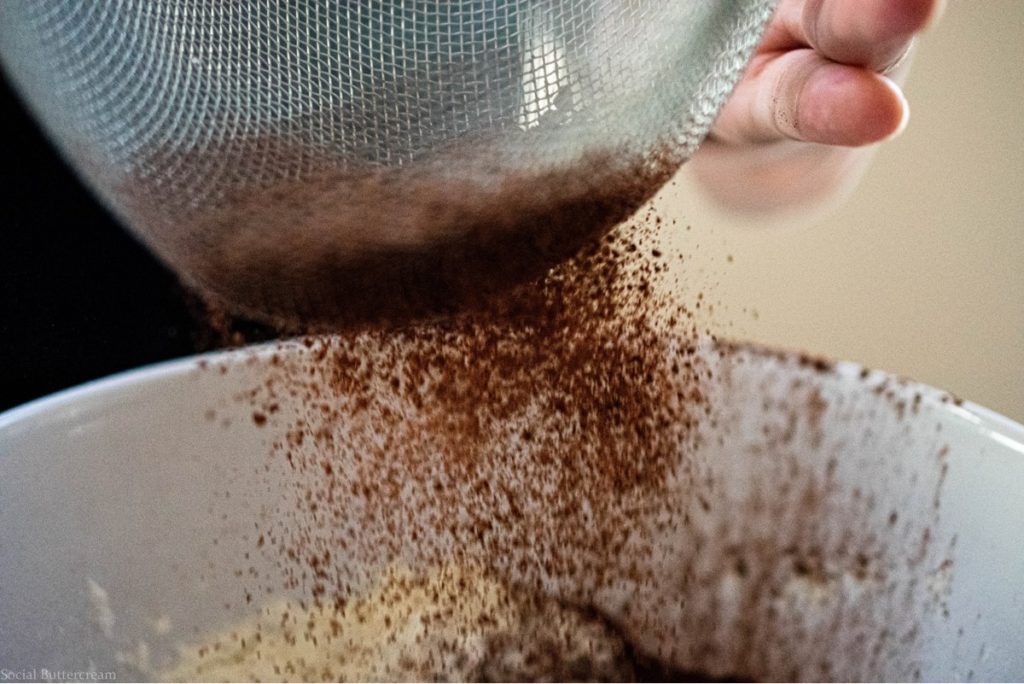 I would kill for that cocoa… 😉
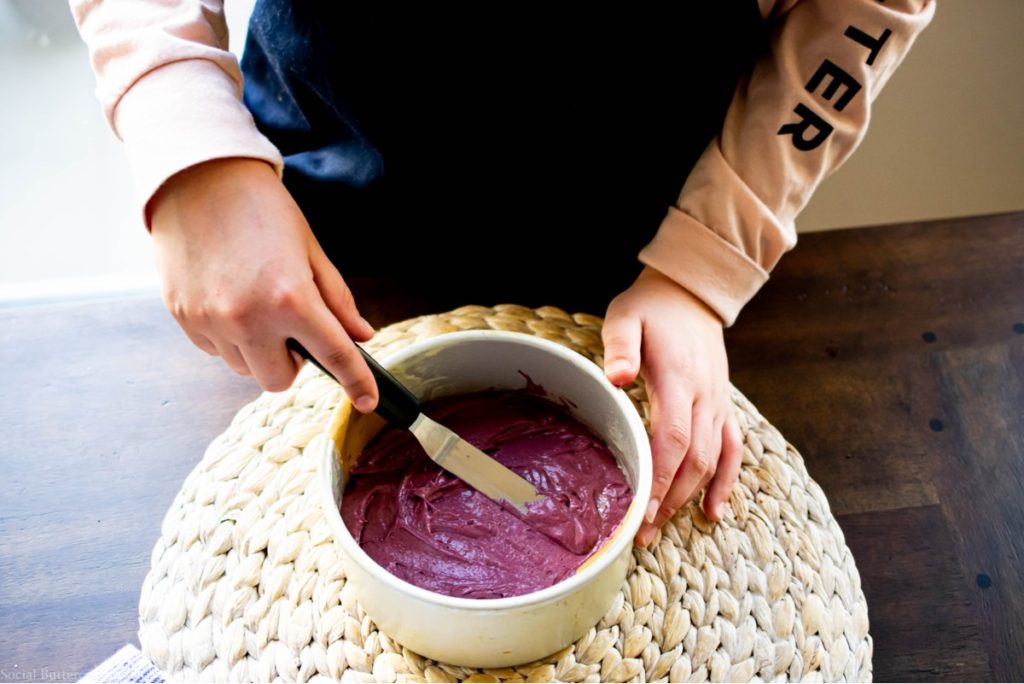 At first we thought it was going to be a purple velvet cake!!
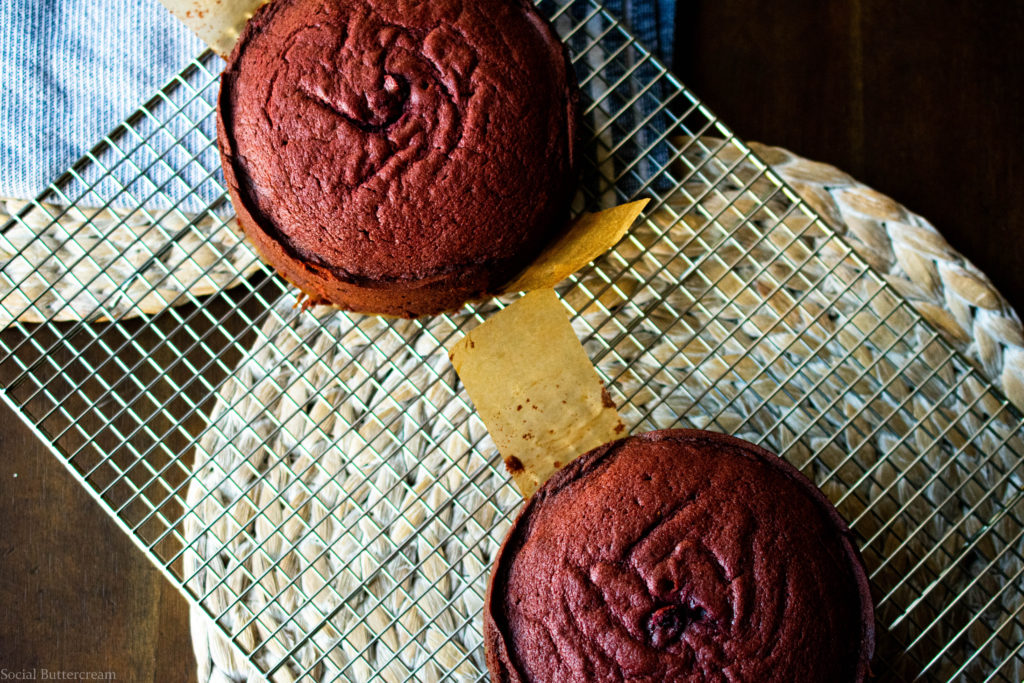
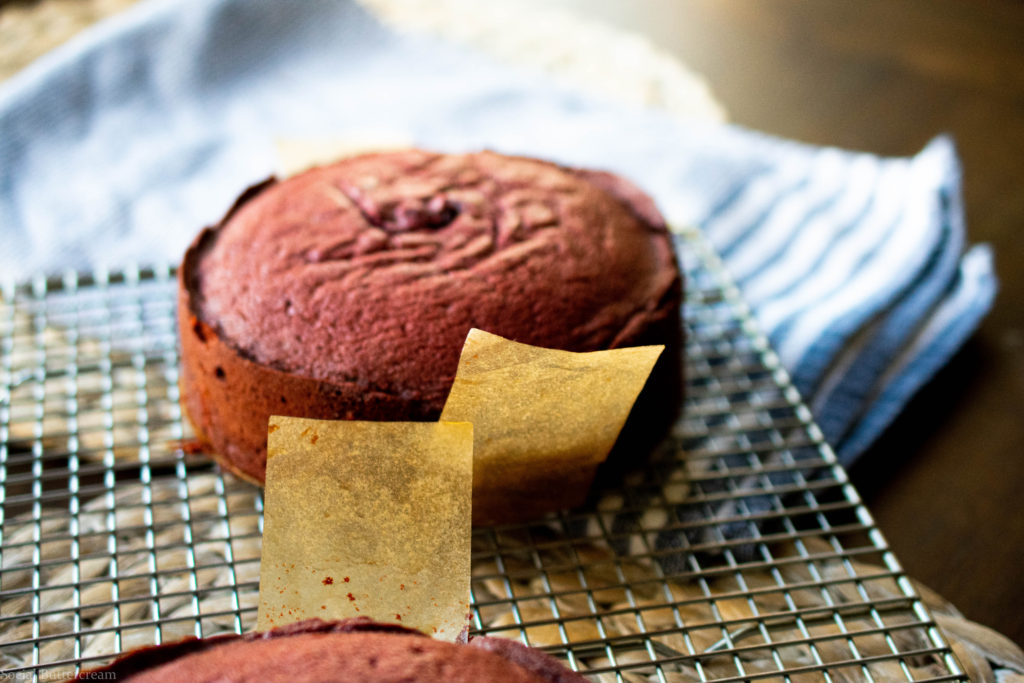 Nope, not purple… We used plant based food coloring so they don’t come out that artificial vibrant red.
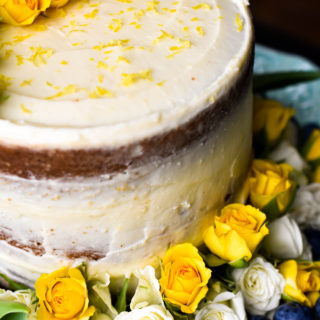
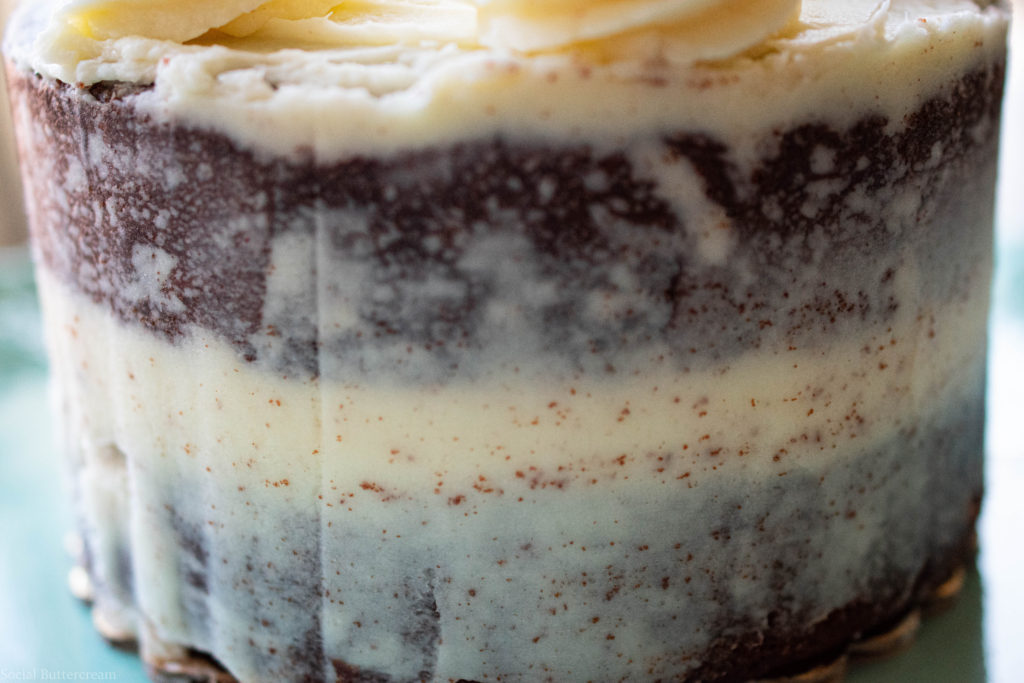 Keeping it simple with a “naked” application! Scandalous!
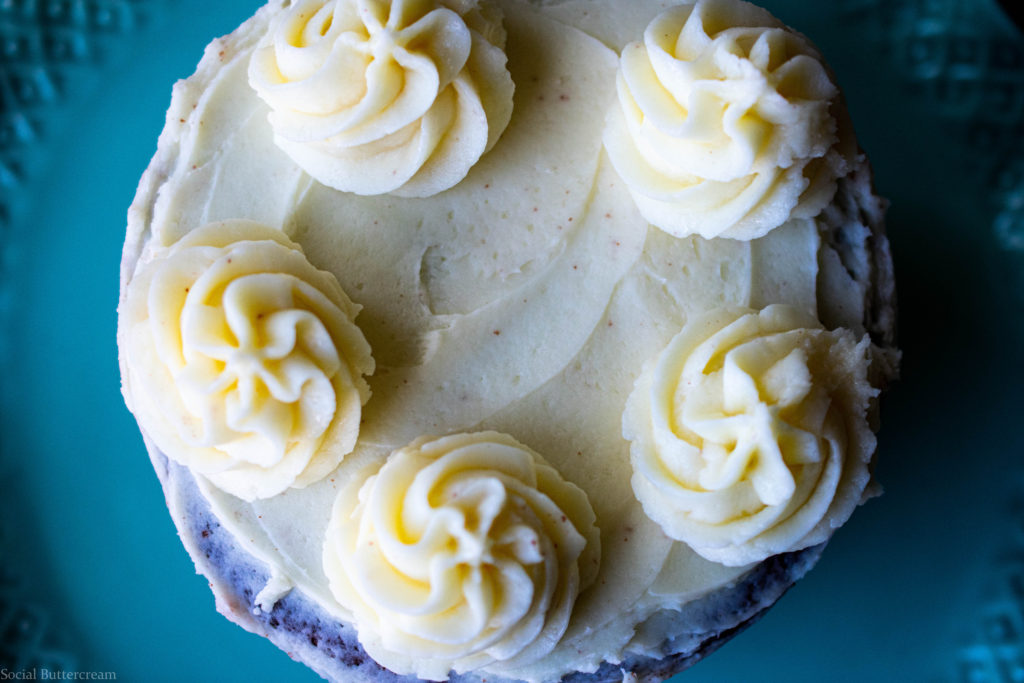
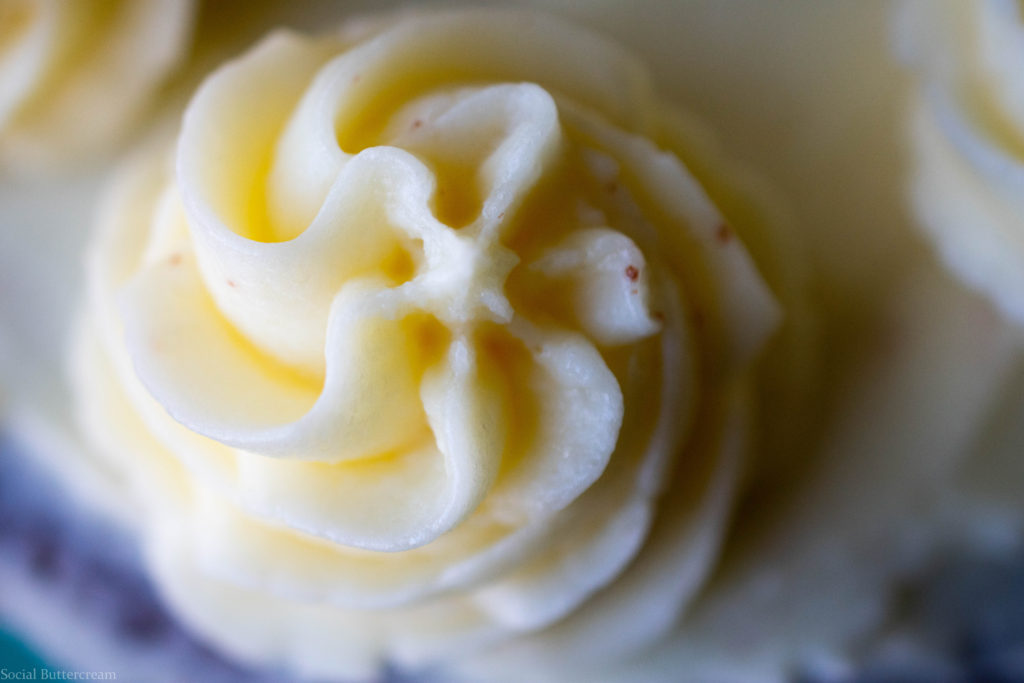 Mascarpone buttercream for the win!
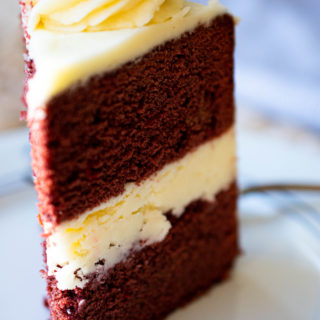
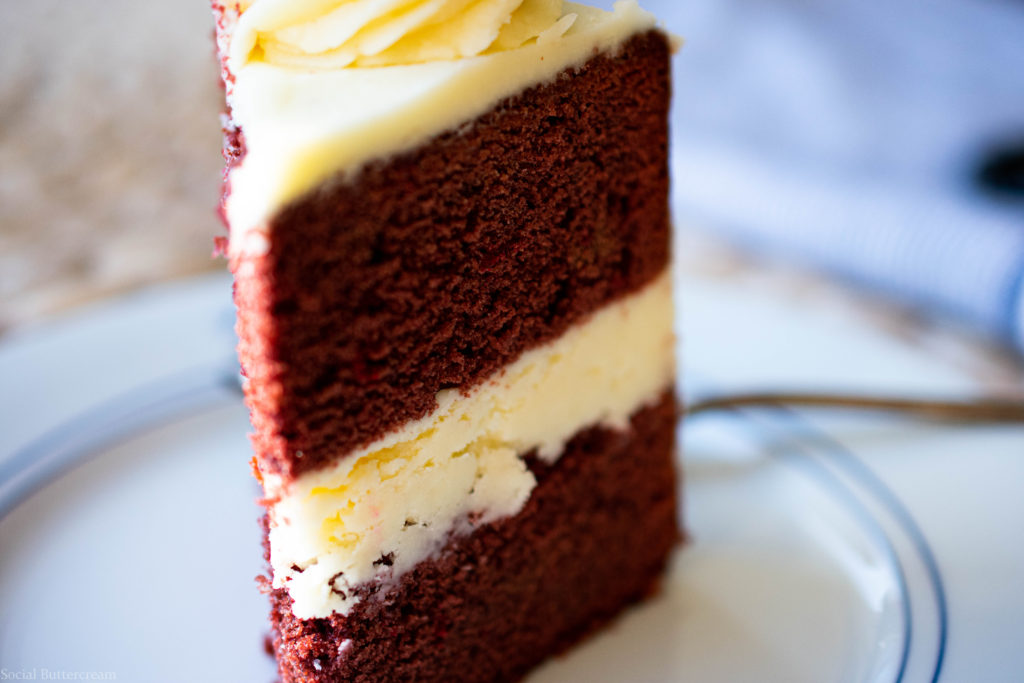 See maroony deliciousness! Nice thick layers and a nice thick layer of buttercream!
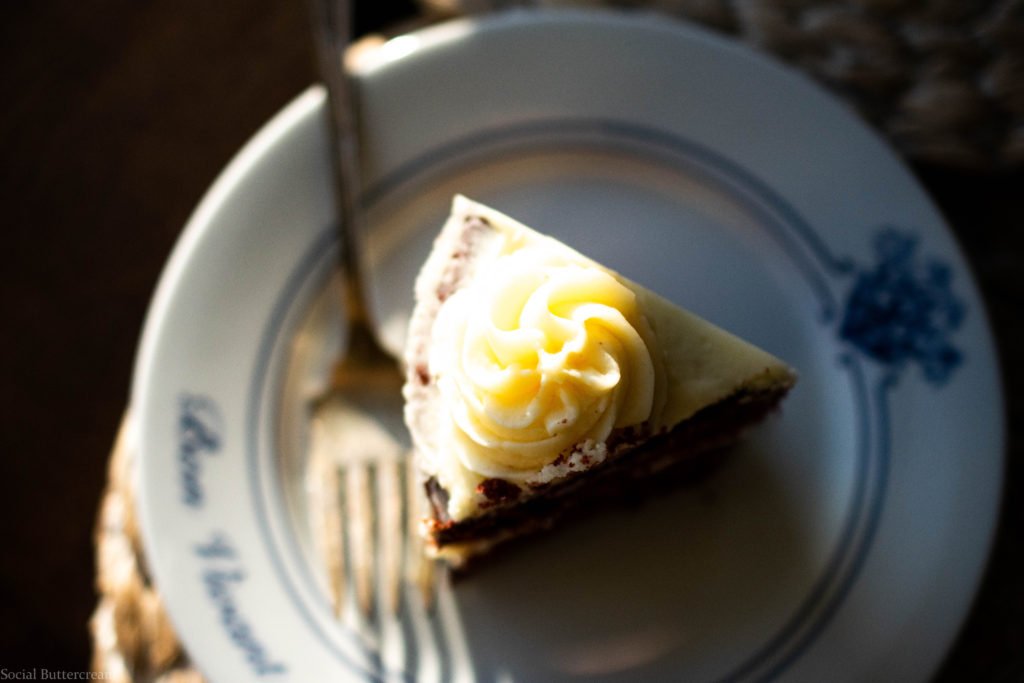
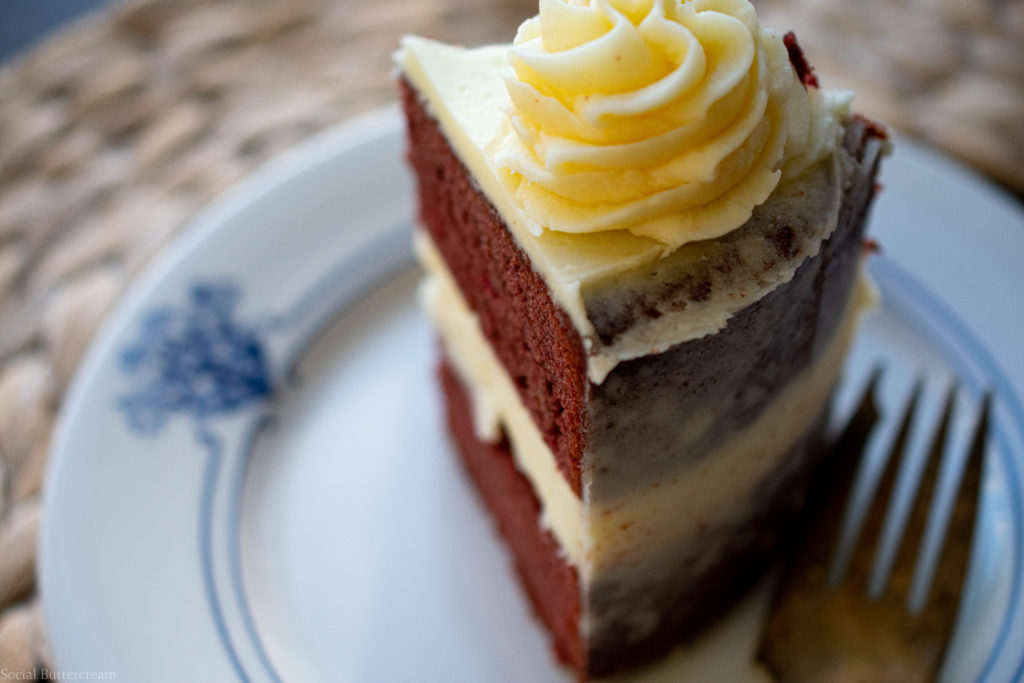 So, get your bake on this weekend with your sweet soul whomever that may be…or your own sweet soul self! Once you go Maroon Velvet Cake you will never go back!
Happy Weekending and Maroon Velvet Baking It!
Diane
- Pans:
- Two 6" round cake pans
- For the Cake:
- 1⅔ cup flour
- 3 tbsp. cocoa powder
- 1 ¼ tsp. baking powder
- ¼ tsp. baking soda
- 1 cup granulated sugar
- ⅓ cup almond oil (can sub vegetable oil)
- ½ tsp. salt
- ½ cup whole milk - room temp
- ¼ cup mascarpone - room temp
- 2 large eggs - room temp
- Plant based red food coloring (I use 365 brand from whole foods, the whole bottle)
- For the Mascarpone Buttercream:
- 12oz mascarpone - room temp
- 1 ½ sticks unsalted butter - room temp
- ½ tsp. salt
- 1 tsp. vanilla extract
- 4-6 tbsp. cream
- 3 to 3½ cups powdered sugar
- For the Cake:
- Pre-heat the oven to 350 degrees and spray and line with parchment paper two 6 inch round cake pans, set aside.
- In a large bowl, combine your dry ingredients, up to the cocoa powder. Sift in the cocoa powder and whisk to combine, then set aside.
- In the bowl of a stand mixer fitted with a paddle attachment, cream the butter until smooth about 2 minutes. Slowly add in the sugar and continue to beat for another 3 to 5 minutes until light and fluffy.
- Add the mascarpone and beat until combined. Add the oil and mix. Add the eggs one at a time, Beat after each addition until incorporated. Add the vanilla extract.
- Add ½ of the dry ingredients and mix until just incorporated. Add half of the milk and combine. Add the rest of the dry and mix. Then add the rest of the milk and combine. Do not over mix.
- Fill each cake pan evenly with batter between the two prepared pans. Gently even out tops with offset spatula or knife.
- Bake on middle rack of the oven for 25 to 35 minutes until toothpick inserted comes out clean. Cool in pans on wire rack for ten minutes. Turn out of pan and allow to cool completely on rack.
- For the Buttercream:
- In a clean bowl of a stand mixer add the butter and mascarpone and mix to combine and smooth. A few minutes. Add the salt and vanilla extract and mix for another 30 seconds or so. Slowly add the powdered sugar one cup at a time. When you get to 2 cups of sugar mixed in, add 4 tablespoons of cream and mix to incorporate. Add the rest of the powdered sugar. Add more cream one tablespoon at a time until you get your desired creamy consistency. Don't overbeat or it will separate. You want it nice and smooth.
- Decorate the Cake:
- When the cakes are completely cool, even off the tops by using a cake cutter or serrated knife so you have nice even layers. Place the bottom layer on at least a 6 inch round cake board and on a cake spinner or stand.
- Add about a cup of the mascarpone buttercream to the top of the bottom layer. Use an off-set spatula to even out, but don't push down the sides.
- Place the second layer on top of the first layer.
- Add another cup of frosting and smooth out the top so you have a flat surface. You can push some off the edges. Keeping it simple and naked, just take a cake scraper and hold tightly against the side of the cake at about a 45 degree angle, keeping the edge on the cake, drag around the cake spinning the cake stand. If you need to add a little more frosting in-between the layers to fill do so. Once you have your desired "naked" look. Add the rest of the frosting fitted with a large tip of choice. I used an open start tip. Pipe little mounds of buttercream around the top edge of the cake. Ta-da!
- Store cake in air-tight container in the fridge. Serve at room temp. Store any left-overs in container in the fridge for up to 3 days.
- Enjoy!

Leave a Reply