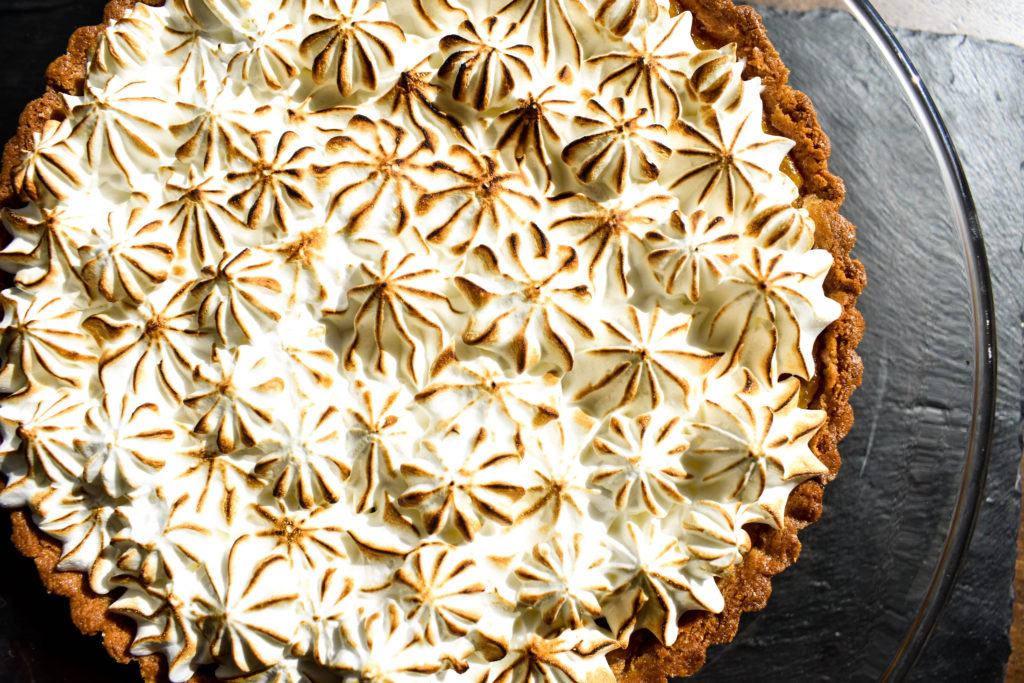
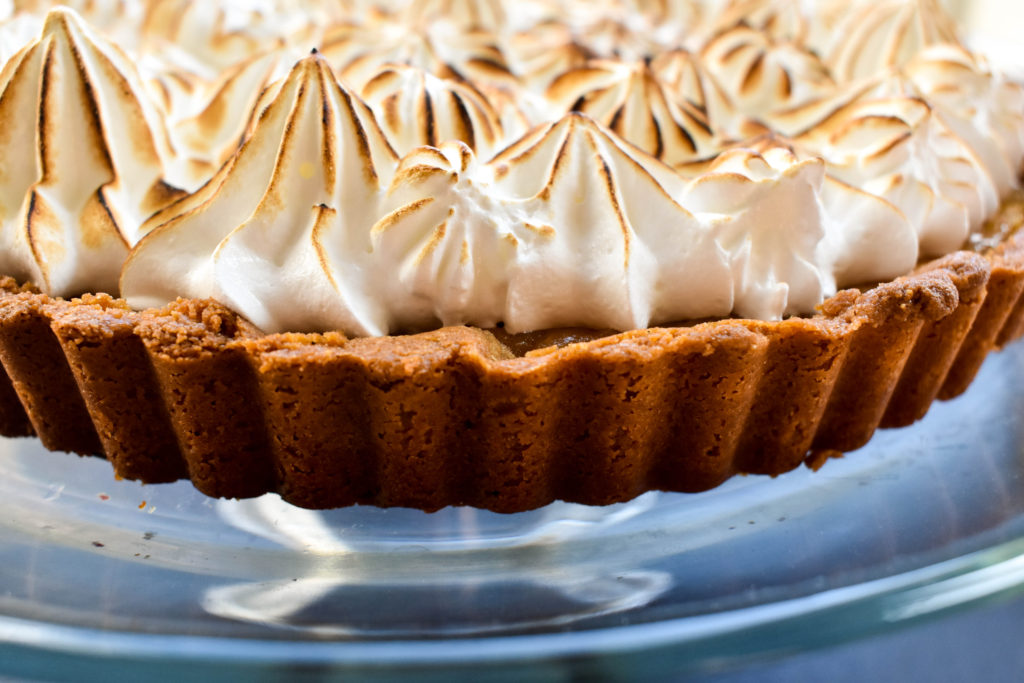
 Who doesn’t love a good tart? I love a good tart. They are the perfect spring and summer time dessert! Plus, it’s a fun word to say, tart…try it, say it; short, sweet, direct and to the point…kind of like me…:)! Any who, you can turn almost anything into a tart, but citrus is really a good choice. Lemon tarts have had their day in the spotlight for enough time, no shade to all the lemony tarts out there, but let’s give another citrus a turn, sorry lime, not you either. Blood orange are you ready for your close-up? This blood orange tart is made with a gluten free crust and dairy free filling, all sublimely topped off with a toasted Italian Meringue. Don’t worry gluten and dairy, I have a boozy doozey (doozey is good) treat I am working on for you, stay tuned. For now, this Blood Orange tart is having its day in the sun and it’s so ready for you!
I actually don’t like eating any citrus in its true whole form. I hate grapefruit, oranges, nectarines, no thank you. Something about the texture, I have never been a fan. A big BUTTTT, I do enjoy all citrus (except you grapefruit, I still hate you) in dessert form and libation form as well (no pulp please). It really mellows out the flavor and the sweet with the tart of citrus were meant for each other… and our taste buds!
Out of the orange family I really like the sweeter flavor and the pretty color of blood oranges. The tart filling is made with blood oranges and a hint of lime, with coconut milk, eggs and sugar and it’s delicious! The luscious custard reminds me of a creamsicle, one of my favorite treats as a child. The orange with creamy coconut milk really hits the spot! I could have poured the custard in a bowl and just spooned it into my mouth before it even made it to the tart shell! Speaking of the tart shell, I kept it gluten free by using a combo of almond flour, sorghum flour and tapioca starch. The almond flour crust bakes up more golden and toastier than your traditional wheat flour tart crust, and the flavor is spot on!
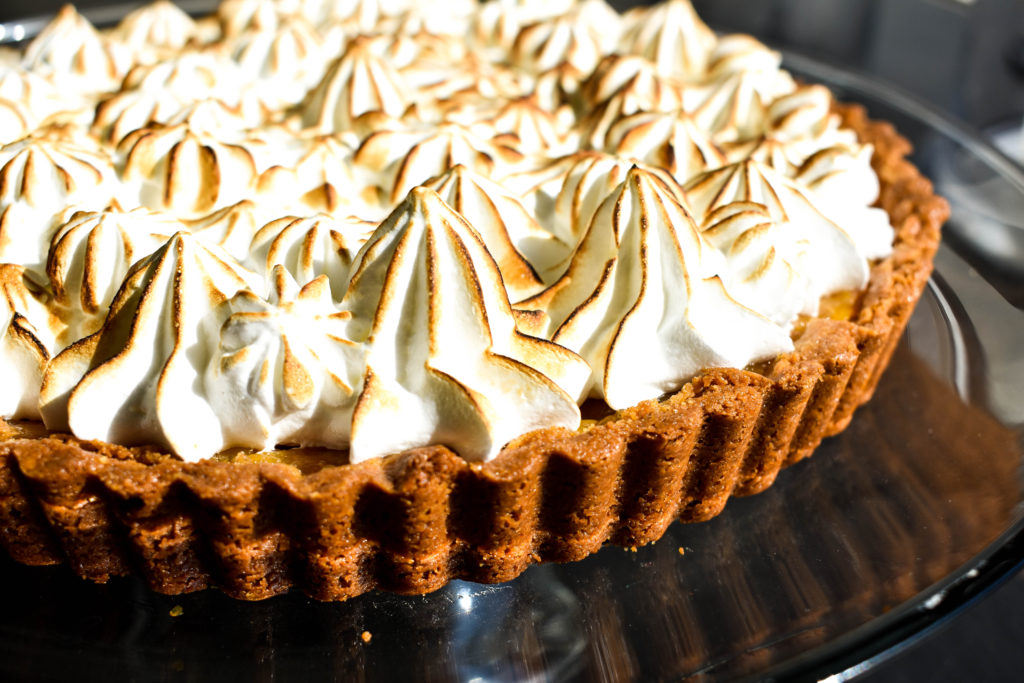 It looks a lot more difficult than it really is. In fact, it is pretty easy. You just have to have patience because there are chilling of the dough times and then baking and cooling of the tart, then the meringue. It really is worth it though, trust me. Patience is a virtue…or something like that and anticipation is the key to happiness…so I’ve heard. 🙂
 I love Italian meringue, light, airy, marshmellowy and delicious! Plus, I love to torch it! Such a beautiful finish to the tart.
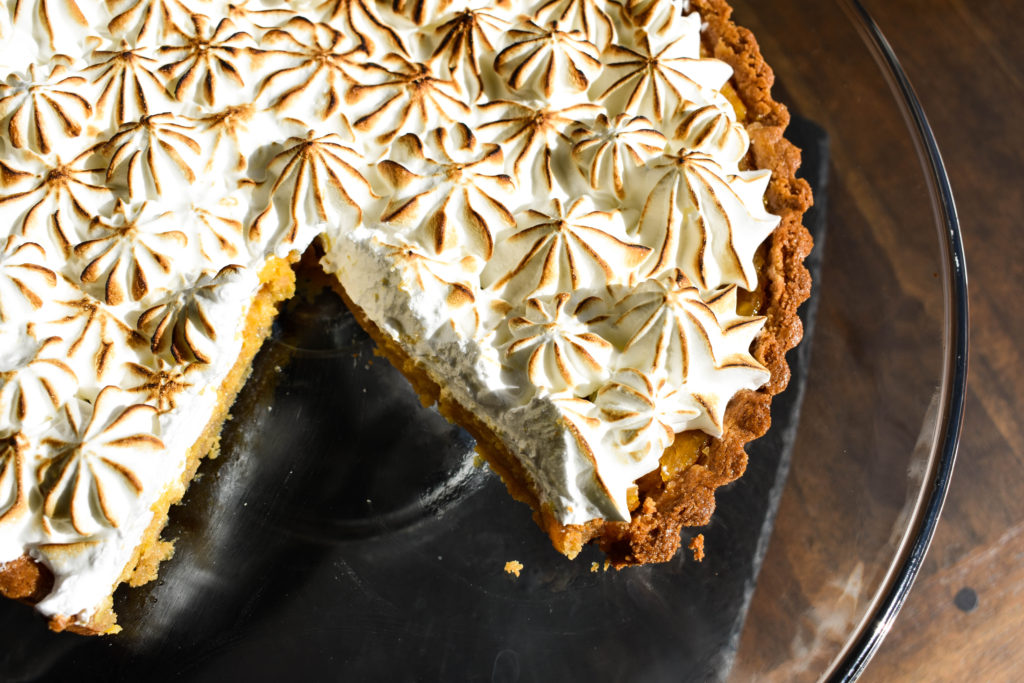
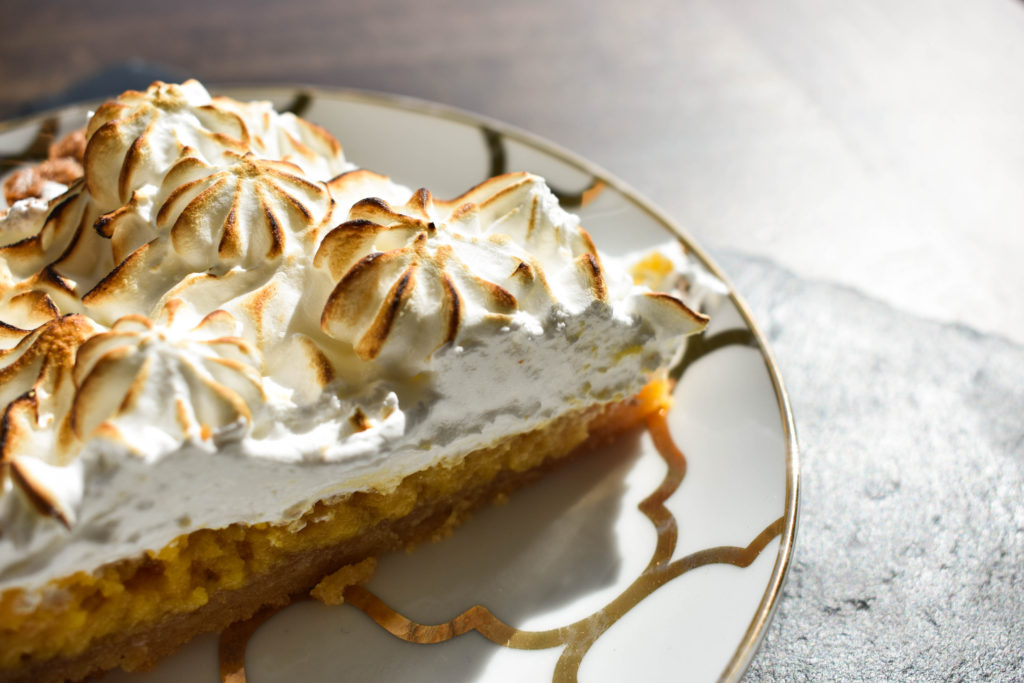 The perfect slice! Nice soft layer of meringue, on top of the creamy blood orange custard that is sweet with a touch of tart to balance everything out. Rounded out by the almond flour crust that adds another rich depth of flavor that is to die for (in a good way)!
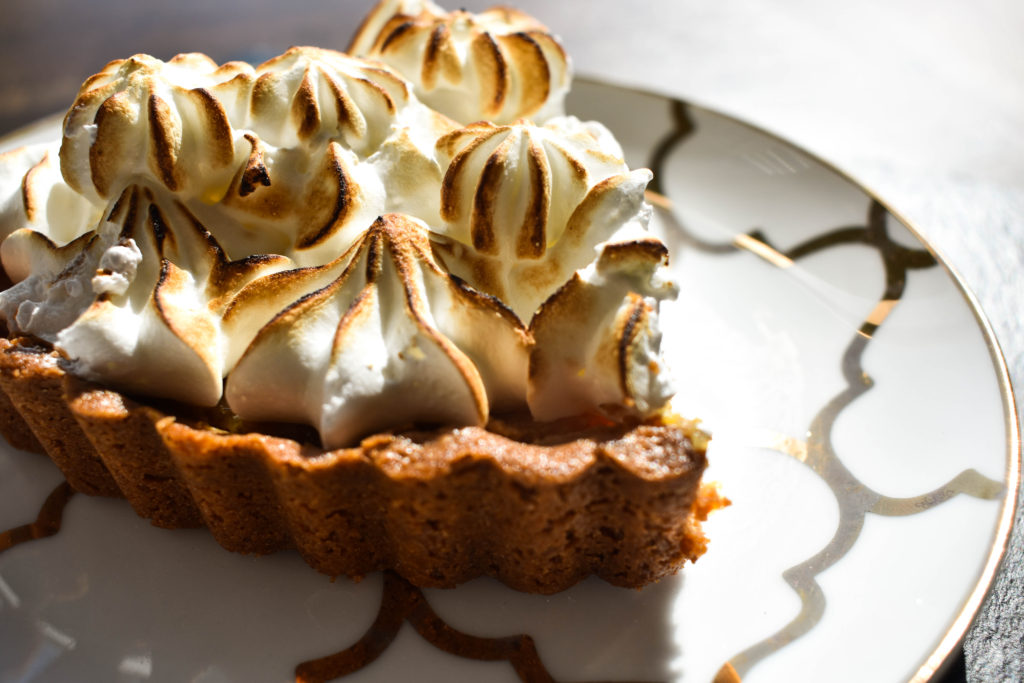
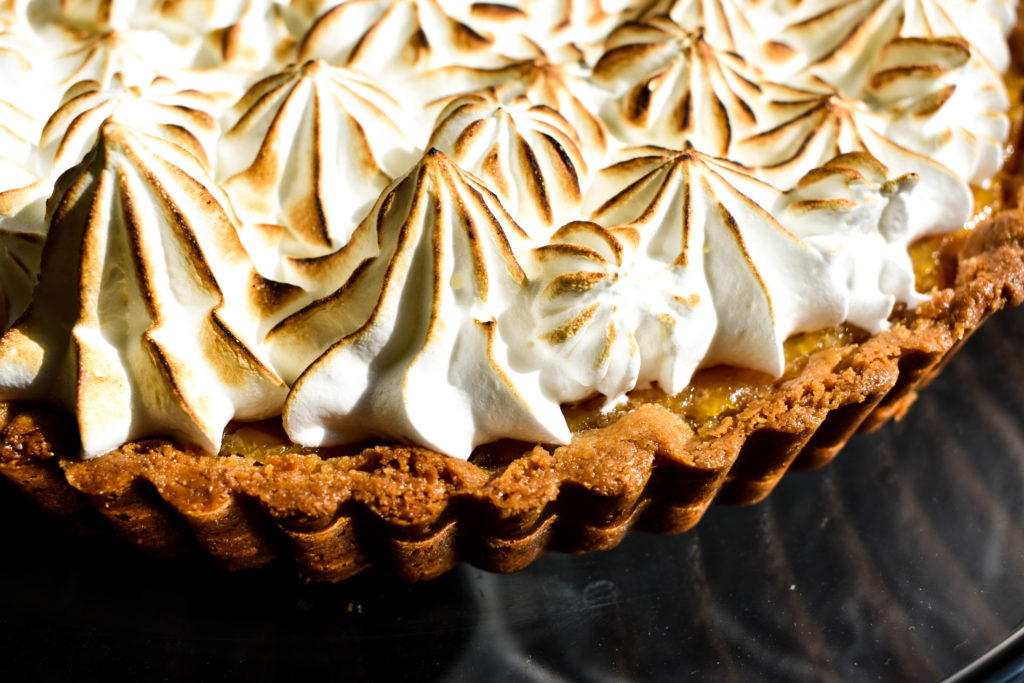 So, get out there and get your tart (say, it’s fun) on! This is perfect for the upcoming holidays, Mother’s Day, brunch, you get it, all good all the time.
Happy Weekending and Tarting!
Diane
- Crust:
- 1 cup almond flour
- ⅓ cup sorghum flour + 2 to 4 heaping tsps. separated
- ¼ cup tapioca starch
- 1 tsp. xanthium gum
- 1 large egg yolk
- 1 tsp. vanilla extract
- ½ tsp. of salt
- 7 tbsp. vegan butter or grass-fed butter or non hydrogenated shortening. Chilled and cubed into small pieces
- ¼ cup packed light brown sugar
- ¼ confectioners sugar
- 2 tsp. ice water
- Filling:
- 2 large eggs plus 7 large yolks
- 1 cup of sugar
- ¼ cup of blood orange zest
- 4 medium blood oranges
- 1 lime
- Total juice about ¾ cup (between the blood orang and lime)
- 1 tsp. vanilla extract
- 3 tbsp. canned coconut milk
- 4 tbsp. grass fed butter or vegan butter
- ½ tsp. salt
- Italian Meringue:
- 4 large egg whites room temp
- 1 cup sugar
- ½ cup water
- ½ tsp. cream of tartar
- For the Crust:
- In the bowl of a food processor fitted with an s-blade, add the dry ingredients and sugars and pulse a few times to fully incorporate. In a measuring cup, whisk the egg yolk and vanilla extract together and set aside. Add the chilled butter and pulse 8 to 10 times until it resembles a course crumb.
- With the processor running add egg yolk and vanilla combo and pulse until the dough just comes together, about 10 to 20 seconds. Add the water one tsp. at a time until the dough comes together. If too wet, add additional sorghum flour one tsp. at a time until comes together to start to form a ball to one side of the processor.
- Turn the dough out onto a piece of plastic wrap and flatten into a 6 inch disk. Wrap in plastic wrap and place in the fridge for at least 2 hours up to three days. Can be frozen for 3 months.
- Pre-heat the oven to 375 degrees. Spray a 9 inch tart pan with non-stick spray and set aside.
- Remove the dough from the fridge and let sit on the counter for about 15 minutes to soften. Roll out between two pieces of plastic wrap or parchment paper to about a 12 inch circle.
- Carefully remove top layer of plastic wrap and using your hand from the bottom of the dough carefully flip into the prepared tart pan. Gently press down the bottom and repair any cracks and tears by pressing together. Evenly press dough up the sides of the tart pan and trimming excess from top to form a clean edge.
- Spray foil and press into tart pan snuggly around the and up the sides. Place in the freezer for 15 minutes.
- Remove from freezer and fill with pie weights and bake for 25 minutes rotating halfway through. Remove foil and weights and continue baking crust for another 10 to 15 minutes. If the crust is browning too quickly gently lay a sheet of foil over the top. Remove from oven and allow to cool on rack while you prepare the filling.
- For the Filling:
- In a medium saucepan whisk together the sugar and eggs and yolks until fully combined. Add in the orange zest, juice and salt. Add butter and cook over medium low heat whisking constantly until mixture thickens and registers 170 degrees.
- Pour through a fine mesh strainer into a bowl and stir in the coconut milk. Place tart shell on a baking sheet. Pour filling into parbaked tart shell. Bake until filling is shiny and opaque and jiggles slightly in the center. About 10 to 15 minutes rotating halfway through. Allow Tart to cool at room temperature for 2 hours.
- For the Italian Meringue:
- Separate the egg whites into a bowl of a stand mixer fitted with a whisk attachment.
- In a medium saucepan add the sugar and water and swirl pan so the water is incorporated. Heat over medium high heat. Use a candy thermometer to monitor temperature. Heat to 240 degrees.
- While the sugar is heating, turn the stand mixer on medium and beat until the whites are foamy. Add the cream of tartar and whisk until soft peaks form. Turn mixer down to stir while the sugar heats to 240 degrees.
- When the sugar is at 240 degrees remove from heat and allow the bubbles to subside. With mixer running on low, slowly and carefully pour the sugar in a steady stream into the bowl avoiding the sides. Once all the sugar is poured in turn the mixer up to medium and allow steam to escape, about 2 to 3 minutes. Next turn mixer on high and beat until stiff peaks form and the blow is cool to the touch, about 10 to 15 minutes.
- Fill meringue into a large pastry bag fitted with tip of choice. For this I used a large star tip.
- Pipe the meringue over the cooled tart to cover completely. Using a kitchen torch gently torch the tops of the meringue. If you don't have a torch, you can set the broiler to low and place tart on baking sheet under the broiler for a few minutes. Watch carefully and do not walk away.
- Slice and enjoy.
- Leftovers can be stored covered in the fridge for up to 3 days. Do not freeze.


Leave a Reply